Necessary
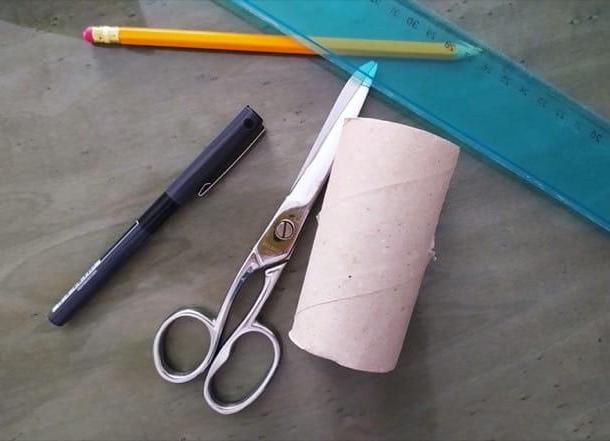
Let's start, obviously, fromnecessary that you need to procure to be able to make a phone stand. The materials needed may be different, depending on how you want to proceed with the construction of the easel. However, your “basic kit” may include the following materials.
- A plastic bottle or a cardboard coming from toilet roll / kitchen paper.
- Un ruler.
- A pair of scissors (preferably with a rounded tip, to eliminate the risk of cutting yourself).
- A Pencil or felt tip pen.
- Some acrylic paints (optional).
As you can see, these are easily available materials, which most likely you already have at home. Once you have procured the necessary, go ahead and follow the directions I am about to give you.
How to make a phone stand

Now it's finally time to take action and see how to make a phone stand. The steps from are not many and, moreover, they are simple to carry out. I will list them below, accompanying them with photos that will surely help you understand how to move.
The first operation you need to do is trace the perimeter of the slots on the plastic bottle or on the cardboard of the roll of toilet paper / kitchen paper in which to insert the smartphone to be supported.
To do this, you must first take the ruler e measure the length of the bottom edge of the phone. Subsequently, draw a line that is at least halfway with a pencil or felt-tip pen of the length of the lower edge of the device: in this way, when you go to place the mobile phone on the holder created, it will not fall. Do this on the opposite side of the bottle or roll of paper as well.
Subsequently, measure the thickness of the device with the ruler (if the smartphone is equipped with a cover, I advise you not to extract it, carry out the calculation including the latter as well) e draw a parallel line to the one drawn before. In this way, the device will not “dance” when it is introduced inside the stand.

The next step is to cut out the slits you drew just now. Using a couple of scissors, Therefore, cut out the rectangles you drew just now, trying to be as precise as possible.
The operation must be performed on both sides of the plastic bottle or the cardboard of the toilet paper roll / kitchen paper.

At this point, the work is practically done! If you want, to make the easel you made more beautiful, you could use a permanent marker and / or acrylic colors to decorate it.
In my case, as you can see from the photo below, I decorated my easel by drawing the my site logo and adding the name of the latter (configurehow.com) below it.
You could decorate it by adding your name, that of a loved one (especially if it is a gift) or you could design textures or decorations as you like. You just have to let your imagination run wild!

If any of the steps are unclear to you, it may be useful to search YouTube for some useful video guides. Maybe you could use them as search terms "How to make smartphone tripod" or "How to make smartphone stand".
Alternatively, I refer you to the CNET How To - 3 DIY phone tripod video of the official channel of CNET, the very famous technology and consumer electronics portal, which partly inspired this article.
How to make a phone stand

