Initial setup of iPhone 6
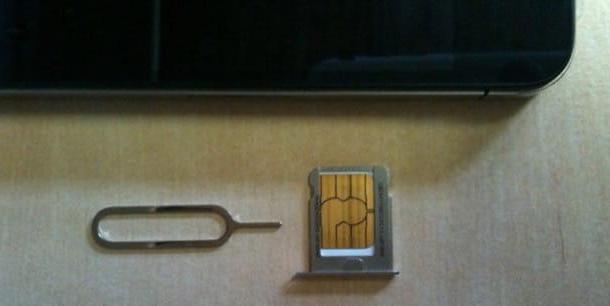
If you are dealing with an iPhone for the first time and want help setting up your phone, do the following: Open the white cardboard found in the iPhone box, take out the small one metal clip contained inside and use it to exert a slight pressure on the forum found on the right side of the phone. The slot to insert the SIM will open. So take yours Nano-SIM, place it in the "drawer" you extracted from the iPhone (so that its edges match those of the "drawer") and reinsert the slot in its original housing.
If you don't have a Nano-SIM yet, go to any center of your telephone operator and request it. It shouldn't cost you more than 10 euros. If, for one reason or another, you can't go to the store, try my tutorial on how to cut Nano SIM and find out how to get a Nano-SIM from a Micro-SIM or a standard SIM.
Once the card is inserted into the iPhone, turn on the device (by holding down the key for a couple of seconds Power located on the right side of the terminal) and get ready to go through the initial iOS setup process.
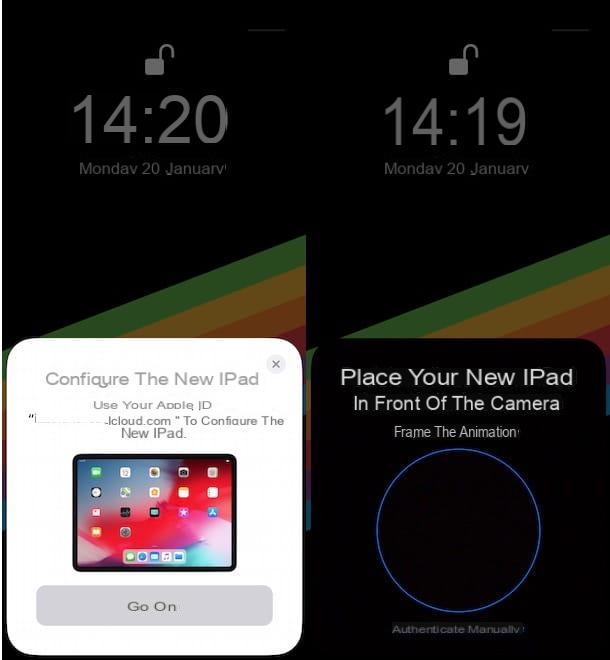
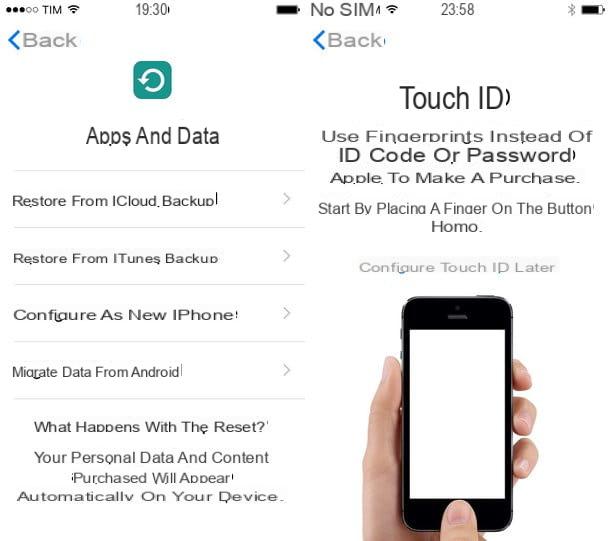
The procedure for set up iPhone 6 consists of a few simple steps. First you need to choose the language in which to use iOS and you must indicate yours country of residence. After that you need to connect to the internet by selecting one wireless network among those available, you have to choose whether or not to activate i location services (the GPS) and you have to choose whether to configure your "iPhone by" as a new iPhone or whether to restore a previous backup from iCloud o iTunes.
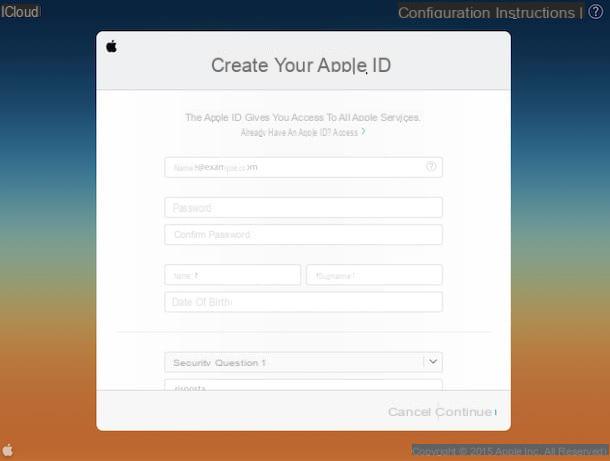
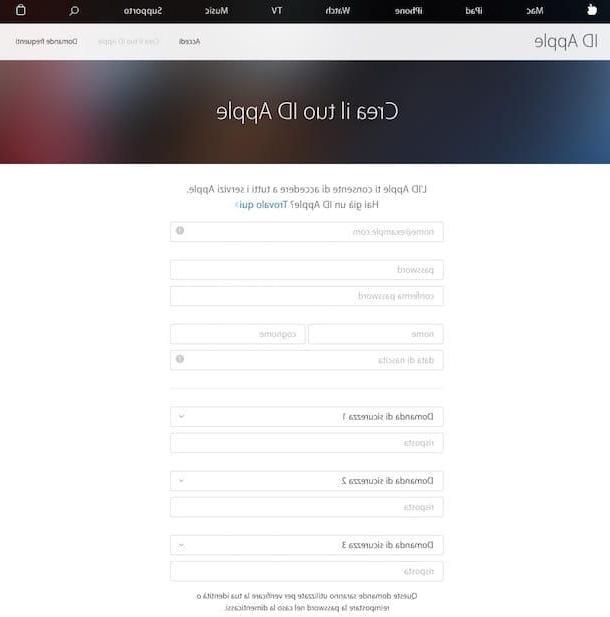
Next, log in to yours Apple ID (or create a new one following my tutorial on how to create iCloud account), accept the terms of use of iOS (by pressing the button Accept twice in a row) and choose whether to use the services related to iCloud (to save system and app data online and synchronize them on multiple devices).
At this point, configure the sensor touch ID so that you can unlock the iPhone and confirm purchases on the App Store via your fingerprint (you simply have to place your finger on the Home button for a few seconds) and create a security code to unlock the terminal; choose whether to activate the iCloud keychain (to store your passwords on the cloud) and configure Crab, the personal assistant that allows you to interact with the phone using your voice.
Finally, choose whether to provide anonymous statistiche d'use to Apple and third-party developers, set the zoom mode favorite for home screen icons and… enjoy your new iPhone 6!
iCloud

Now let's talk a little about the services offered by iCloud.
iCloud, as mentioned above, is the Apple cloud storage platform that allows you to store the data on your iPhone on the cloud (therefore on the Internet) and automatically synchronize them on various devices: other iPhones, but also iPads, Macs and even Windows PC (via a specific client downloadable for free from the Internet).
The service is free, but only up to 5GB. If you want more space to store your data, you need to subscribe to one of the iCloud paid plans. The price of these plans is 99 cents / month for 50GB of storage, 2,99 euros / month for 200GB of storage and 9,99 euros / month for 2TB of storage.
To check that iCloud is regularly active on your iPhone 6, access the menu with the settings iOS device (the gray gear icon on the home screen) and make sure your Apple ID is on the screen that opens. If you are using an iOS version earlier than 10.3, you need to go to the menu to verify your iCloud account Settings> iCloud.
If there is not yet an iCloud account configured on your iPhone, log in to your Apple ID by pressing the appropriate item. If, on the other hand, there is an account configured other than the one you want to use, first tap on the item relating to theaccount currently configured on the phone, then on the button Logout located at the bottom and log in with the new Apple ID you want to use on your "iPhone by".
The options you see in the iCloud I advise you to keep them all active: iCloud Drive (which is used for storing app documents); Photos (for online photo backup and sync); Mail, Contacts, Calendars, Reminders, Safari (i.e. bookmarks, browsing history, etc.), Notes, Wallet, Backup, Keychain and Find My iPhone.
Find my iPhone is a free anti-theft service that allows you to locate and control your iPhone remotely in case of theft or loss. It is very useful, find out how to use it by reading my guide on how to find iPhone.
As for the photos, there is an important distinction to be made between ICloud Photo Library e Streaming Photo. The first is a service that allows you to store photos and videos on the cloud permanently, it is free but requires a lot of space on iCloud (and therefore requires one of the paid plans of the Apple cloud storage platform). The second, on the other hand, stores only the photos and in a non-permanent way: it keeps the last 1.000 images saved on the iPhone for a maximum of 30 days, but on the other hand it does not erode the space on iCloud (so it can also be used with the free plan 5GB of the service). I told you more about it in my post on how to store photos on iCloud: check it out, I recommend it.
If you want more information on iCloud and want to learn how to manage the space available on the latter, try to follow the instructions contained in my guides on how to use iCloud and how to free up space on iCloud.
App and data management

After talking a lot about the cloud, it seems only right to "get back to earth" and talk about the data physically present on the iPhone memory, which as known cannot be expanded with SD cards and therefore must be managed wisely.
To get a complete picture of the data on your iPhone memory (and find out which ones take up the most space), go to the menu of settings of iOS and move to General> Device and iCloud Space> Manage Space (under the heading Device space). A screen will open with the list of apps that take up the most space (in order of "weight"). Therefore, identify the superfluous applications, which you no longer need, and delete them by pressing first on their icon and then on the item Delete app present nella schermata che si apre.
As for the management of music and photos (other contents that take up a lot of space on the iPhone's memory), I recommend that you open the relevant apps and “manually” delete all the contents that you no longer deem indispensable. Try to follow the directions you find in my guides on how to free up space on iPhone, how to delete music from iPhone and how to import photos from iPhone and you should be able to manage the memory of your "iPhone by" quite well.
Battery

Another aspect to “take care of” with particular attention in an iPhone is the battery consumption by applications.
To find out which applications consume the most energy, go to the menu Settings> Battery of your iPhone 6 and use the tabs 24 hours e 7 days to find out which apps have weighed the most on the battery in the last day or week.
The applications that consume the most, in general, are those of social networks (Facebook in the first place) and all those that use geolocation functions. To find out how to limit their activities and increase the average autonomy of your iPhone, put into practice the advice you find in my tutorial on how to save iPhone battery.
Mail and contacts

If during the procedure for set up iPhone 6 you have associated an Apple ID with your “iPhone by”, you should already be able to receive and send messages via your @ iCloud.com email address.
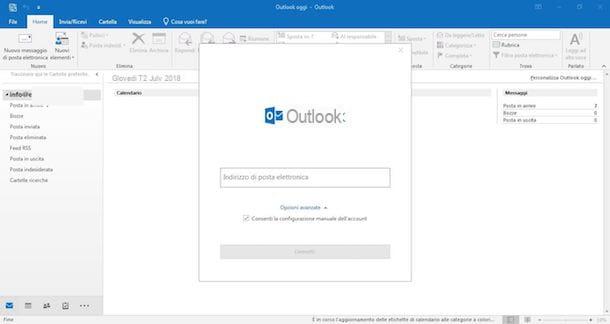
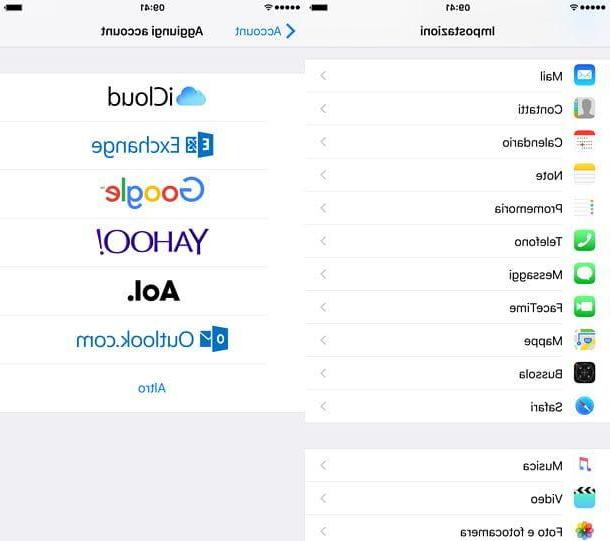
To add other e-mail accounts to Mail (the e-mail client included "standard" in iOS), go to the menu Settings> Mail iPhone and presses the button Add account. Then select the e-mail service you want to configure in Mail (gmail, iCloud, Hotmail, Yahoo!, aol, microsoft Exchange, Outlook o Other) and enter the data of the latter in the form that is proposed to you.
At the end of the procedure, you can decide whether to use the account just added to the iPhone only for emails or also for synchronizing contacts. In that case you can also set your new account as the default account for syncing contacts, just select it from the menu Settings> Mail> Default Account or from the menu Settings> Contacts> Default account.
Caution: Gmail doesn't support push notifications in Mail. To bypass this limitation you can install an alternative email client such as Outlook or the official Gmail app. For more information on how Mail works on iPhone, read my tutorial on how to set up Mail on iPhone instead.
Internet connection

To connect to a new Wi-Fi network with your iPhone, go to the menu Settings> Wi-Fi iOS, select the name of the network you want to connect to and enter the access key. Easy, right?
Connection to the network 3G / LTE it should be equally simple, in the sense that it should fire automatically as soon as the iPhone is in an area where there are no Wi-Fi networks available (assuming your data plan allows it and there is "range").
If the 3G or LTE connection doesn't work on your iPhone, go to the menu Settings> Cellular of iOS, make sure the option Cellular data is active and choose 4G o 3G from the menu Cellular Data Options> Voice and data. Then go to the menu Settings> Cellular> Cellular Data Options> Cellular Data Network and check that your carrier's APNs are set correctly.
To find out which are the correct APNs to use, read my guides on how to configure Internet TIM, how to configure Internet Wind and how to configure Internet Vodafone, or consult your telephone operator's website directly.
Ringtones and wallpapers

Are you tired of your iPhone 6's default ringtone? No problem. You can open theiTunes Store and buy the ringtones available on the official Apple store, or you can create ringtones in iTunes (on your computer) and transfer them to your "iPhone by". It's really that simple, if you want to know more read my tutorial on how to download iPhone ringtones.
Changing the wallpaper is also a breeze on the iPhone. All you have to do is go to the menu Settings> Wallpaper of iOS and select the item Choose new wallpaper from the screen that opens. You can choose one of the default iPhone wallpapers or any of the photos in the iOS roll.
Updates

Updating the iPhone operating system is very important. It helps not only to keep your smartphone safe at all times (as the updates also correct the security flaws found within iOS), but also allows you to take advantage of all the new functions that Apple gradually introduces in its software.
There are two ways to update the iPhone operating system: that OTA (over the air) which allows you to download updates directly to the iPhone and install them "on the fly", and the more traditional, via iTunes, which involves connecting the phone to the computer. To learn more check out my tutorial on how to update iOS.
Data backup

At this point, it seems only right to say a few words about the backup and synchronization functions that allow you to keep safe the data hosted on your “iPhone”.
To create a backup of the data on your iPhone you can use iCloud e iTunes. In the first case, as soon as the phone is charged and connected to a wireless network, a backup of data, apps and settings on the Internet is created. In the second case, you need to connect the iPhone to the computer and transfer the data to it using iTunes.
The two backup systems are complementary, and I recommend that you use both. To learn more check out my guide on how to backup iPhone.
Other settings

What we have just seen together are just some of the ways this is possible set up iPhone 6, but there are actually tons of settings and preferences that can be changed within iOS.
For example, by going to the menu Settings> Phone you can adjust preferences related to voicemail, call forwarding and you can block iPhone calls. By going to the menu Settings> General> Keyboard you can change the iOS default keyboard, by moving in the menu Personal hotspot you can use iPhone as a router and share internet connection with other devices, and the list could go on and on.
My advice is to take some time, try to explore every single item on the menu Settings of iOS and try to deepen the latter with targeted searches on the Internet (perhaps within this blog, where I have dealt with the iPhone and its settings many times).
Restore iPhone

Would you like to restore an iPhone to its factory state and configure it as if it were a new terminal? In this case you can go to the menu Settings> General> Reset of iOS and select the item Initialize content and settings from the screen that opens, or you can connect your phone to your PC and start the restore procedure via iTunes.
In both cases, all data, apps and settings will be deleted from the memory of the "iPhone by" (even if you will have the ability to restore any previous backups, including other iPhones, via iCloud and iTunes). If you want to know more read my guide on how to reset iPhone 6.
How to set up iPhone 6

