Minimum requirements
If on the computer on which you intend to install Seven there is a different version or edition of the operating system from Microsoft, before discovering what you need to do to be able to create USB bootable Windows 7, you must first check that the PC in question respects the minimum requirements required by the company to ensure that the OS can work without problems. Find them indicated below.
- Processor - 32-bit (x86) or 64-bit (x64) 1 GHz or higher.
- RAM - 1 GB (32 bit) or 2 GB (64 bit).
- Available disk space - 16 GB (32 bit) or 20 GB (64 bit).
- Graphic device - DirectX 9 with WDDM 1.0 driver or later.
For more details and to know the additional requirements for the use of some features offered by Windows 7, consult the appropriate information Web page attached to the Microsoft website.
Necessary

Once you have ascertained that your PC is actually able to "handle" the operating system, in order to create USB bootable Windows 7 you need to get all the necessary "equipment".
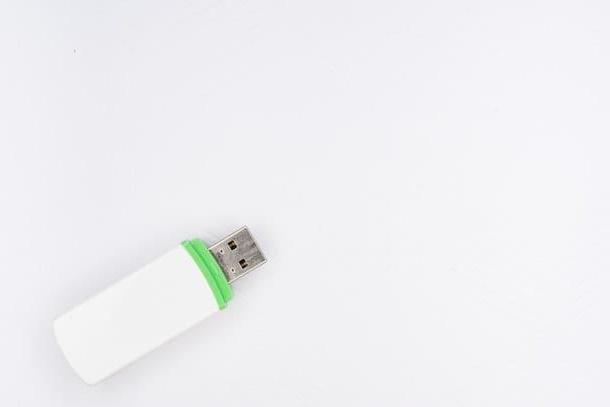
As easily understood, you first need one pendrive of sufficient capacity. Personally I suggest you find one with at least 4 GB of free space. Also make sure that the key to be used is empty or that in any case there are no important files on it because in order to use it you will need to format it.
In addition to a fairly "spacious" key, to create a bootable USB Windows 7 you need theISO image the version of the operating system. If you don't know where to find the Windows 7 ISO image, I suggest you look for it on sites that allow legal download. Alternatively, you can create it yourself from a computer equipped with a DVD player. To find out how, read my guide on how to extract ISO files from DVDs and CDs through which I have provided you with all the explanations of the case.
Note that in order to install the ISO image you will then need to use the license code already in your possession or in any case you will have to procure one as I explained to you in my guide on how to buy Windows 7.
Preliminary operation

Yes, before moving on to the actual action by creating USB bootable Windows 7 there are still a couple of other things that I invite you to do to make sure that everything goes the right way and that, following the installation of the operating system, you have no problems or unpleasant surprises:
- Check compatibility of driver - To do this, just download and start one of the software suggested in my article dedicated to driver programs.
- Create a backup copy of your data - To do this, save all your data that you consider most important to an external hard drive, a USB stick or DVDs, your most important data (documents, photos, music, films, etc.). You can find useful information on what to do in my guide on how to backup your data.
Creation of the bootable USB stick

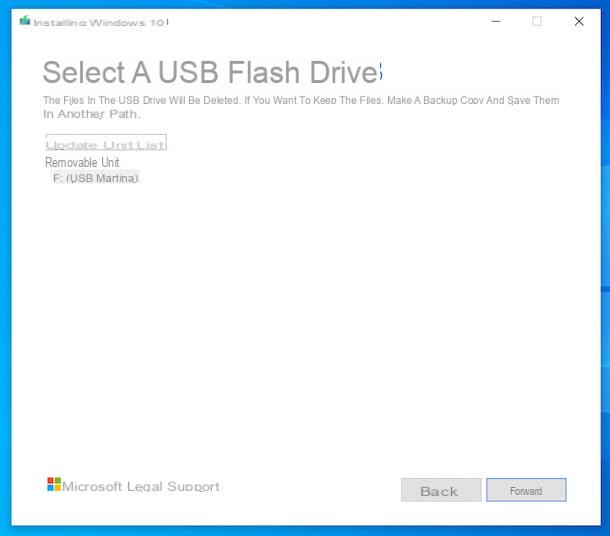
Once the above steps have also been carried out, you can finally dedicate yourself to creating the bootable key. To do this, you need Windows 7 USB / DVD Download tool, a free program from Microsoft that is used to create a USB stick for the installation of Windows 7. Then connect to the software download page and click on the button download for free to immediately download the program to your computer.
Then open the installation package Windows7-USB-DVD-Download-Tool-Installer-en-US.exe click her cousin Run, Then Next, then on install and finally on Finish. Then start the program by accessing the section where all the software and applications in the Start menu or in the Start Screen (depends on the version of the OS you are currently using) and clicking on its name.
At this point, click on your button KATEGORIEN which is located in its main screen to select the Windows ISO image to use to create USB bootable Windows 7. Continue by clicking first on Next, Then USB Device and finally on Start Copying in order to start copying the files from the ISO image to the USB stick.
Once the copy starts, you will see a green progress bar in the program window. Upon reaching the 100% you can finally tell you satisfied: the procedure by which to create bootable USB Windows 7 has been completed!
Windows 7 installation

If you want to take advantage of the key just created on your computer, leave it connected to it, restart the PC and then follow the installation procedure of the operating system that is shown on the screen. If, on the other hand, you intend to use the bootable pendrive on a high computer, disconnected from the PC you are using it, connect it to the station you want to work on, making sure that it is turned off, then start it by pressing the appropriate power button and wait for the installation procedure Windows 7 starts.
Then wait for all the files necessary for the installation of Windows to be loaded and then install the operating system following the simple wizard that will be shown to you. On the first screen, make sure that the your language and click first NEXT and then Install to continue. If prompted, select the edition of Windows 7 to install, for example 7 Windows Home Premium, and then click on NEXT.
Then accept the terms of use of the operating system by placing the check mark next to the item I accept the license conditions then click on first NEXT and then custom o Updating, depending on whether you want to install the system from scratch and then perform a disk format or if you intend to upgrade an existing Windows installation, for example by switching from Windows Vista to Windows 7.
Then select the hard disk or partition on which you want to install the operating system, choose if necessary to format it by clicking on the items Drive options (advanced) e Format placed at the bottom right and then start the actual procedure for installing Windows 7 by clicking on NEXT.
Then wait for the first part of the process to be completed. Please note that in most cases it takes about 15 minutes after which the computer restarts by itself. After restarting, do not press any key when the relevant message appears on the screen but wait a few moments for the installation of Windows 7 to be completed automatically.
Once the installation procedure is complete, the computer will restart automatically and the initial configuration of Windows 7 will start. Complete the configuration procedure by following the instructions shown on the screen (at this stage you will also be asked for the product key so keep it handy) and wait for the desktop to be visible to be able to start using your computer with Windows 7 again.
As you can see for yourself, the operations to be performed to install the operating system after creating USB bootable Windows 7 are quite simple. However, if you need even more detailed information on what to do you can take a look at my tutorial on how to install Windows 7 in which I have explained in detail all the steps necessary to be able to install the operating system from scratch.
In case of problems

In the event that the installation procedure of Windows 7 does not start and if the operating system of the computer starts normally, you will have to configure the BIOS correctly in order to boot from USB devices. To find out how, I invite you to read my guide on how to enter the BIOS, then taking care to change the boot order of the computer.
How to create bootable USB Windows 7
